Your garden beds. A brief context to set expectations.
Your garden beds: Quick notes
Getting your garden ready for spring starts with healthy, well-prepared soil. While you might feel like you don’t have much to do in the garden during winter, it’s never too early to start getting ready for the next growing season! Keep reading to learn how to prepare soil for planting and get your garden beds ready for a productive, colorful, and bountiful spring.
How to Prepare Soil for Planting
A happy garden starts with healthy soil! Whether you’re growing flowers, starting a kitchen garden, or anything else, you need to understand that neglecting your soil can lead to weak plants, poor yields, and sad gardens. Luckily, with a little prep work, you can transform your soil into a nutrient-rich, well-balanced home for your plants. Here’s how to do it step by step.
Clear Out Old Growth and Debris
Before anything else, clean up your raised garden beds and any other areas you’re planning on using. Mulch and cover crops are one thing, but any diseased or rotting leftover plant debris from last season can harbor pests, diseases, and weed seeds.
Pull up any dead plants, trim back perennials, and rake away leaves or mulch that might be too thick or matted down. If anything looks diseased, toss it. Don’t add it to your compost pile, or you might spread issues to your new plants. If you grew cover crops over winter, now is the time to integrate them into your soil.
Evaluate and Test Your Soil for Planting
Figuring out what you’re working with may just be the most important step to prepare your soil for planting. A soil test is like a health checkup for your garden. It tells you what your soil is lacking (or has too much of), so you know exactly what amendments to add. You can grab a DIY home soil test kit at a garden center or send a sample to a local extension service for a more detailed analysis. Look for key factors like pH, nitrogen, phosphorus, and potassium levels – these will help guide your next steps.
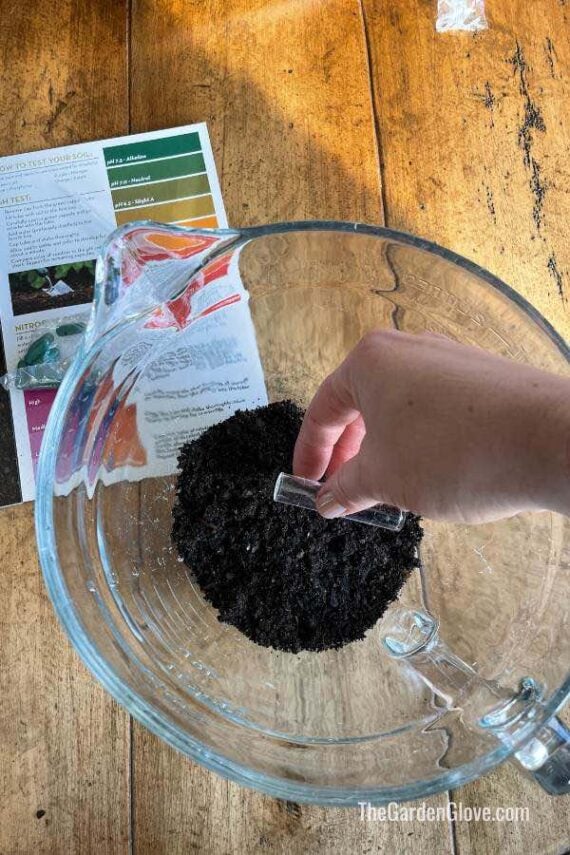
Do a Quick Soil Structure Evaluation
Good soil has the right balance of sand, silt, and clay, which helps with drainage and aeration. If your soil is too heavy (clay-rich), mix in compost, vermiculite or perlite to improve drainage. If it’s too sandy, add organic matter like manure or mushroom compost to help retain moisture. The goal is to create loose, crumbly soil that holds moisture without becoming waterlogged. Check out this post from almanac for more on how to determine your soil type (and test for acidity while you’re at it).
Dig under the surface and make some observations- was the soil hard to dig into? Is it heavy and moist? Are there lots of big pieces of wood chips and debris or is it mostly fine? This can also determine the type of amendments you may want to use.
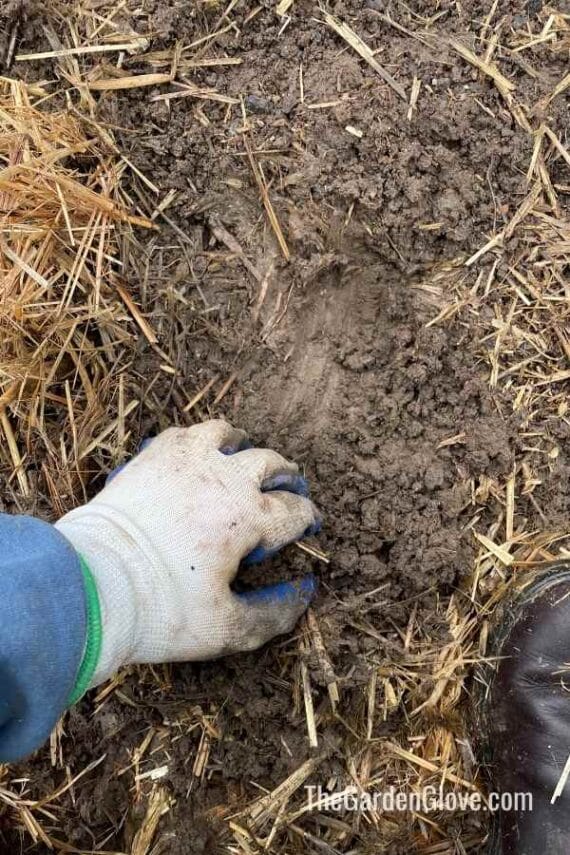
Take a look at your own soil and decide what’s right for you!
Plan Your Spring Crops
And now, of course, the fun part! I like to wait until after I have my soil test results to plan my crops. That way, I can focus on crops that will likely do well in my specific soil, and avoid those that probably won’t (although I usually try some anyway, for the fun of it!). It can be a great strategy in raised beds to test the soil from each one and then rotate your veggies accordingly. For example, instead of growing tomatoes in the same spot as last year, move them to an area where plants that demanded less nitrogen grew last year. A quick Google search can tell you which plant needs what nutrients the most.
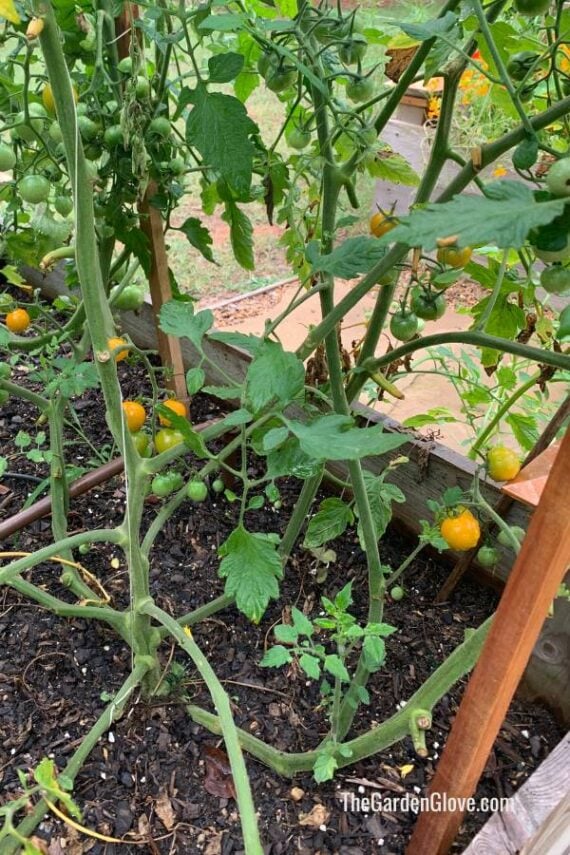
If you’re looking for some inspiration on what to grow this year, start with these garden seed catalogs!
Add Organic Matter and Amendments
Healthy soil needs a steady supply of organic matter. Compost, aged manure, leaf mold, or worm castings can all enrich your soil with essential nutrients. Depending on your soil test results, you might also need to add specific amendments – lime to raise pH, sulfur to lower it, or rock phosphate for a phosphorus boost. Work these materials into the top few inches of soil to give your plants a good start to life.
Boost Soil Microbiology
Soil isn’t just dirt – it’s a living ecosystem filled with beneficial microbes, fungi, and earthworms that help break down organic material and provide nutrients to your plants. You can encourage these helpful organisms by adding compost tea, mycorrhizal fungi, or even just keeping the soil moist and covered with mulch. The healthier your soil’s microbiome, the better your plants will thrive.
Let the Soil Rest Before Planting
Once you’ve done all the prep work, give your soil a little time to settle. Ideally, you should prepare your soil a few weeks before planting to let amendments break down and soil life stabilize. Covering the bed with a light layer of mulch or straw helps retain moisture and prevent weeds from taking over before you plant.
A Quick Example: How I’m Improving the Soil in My Garden
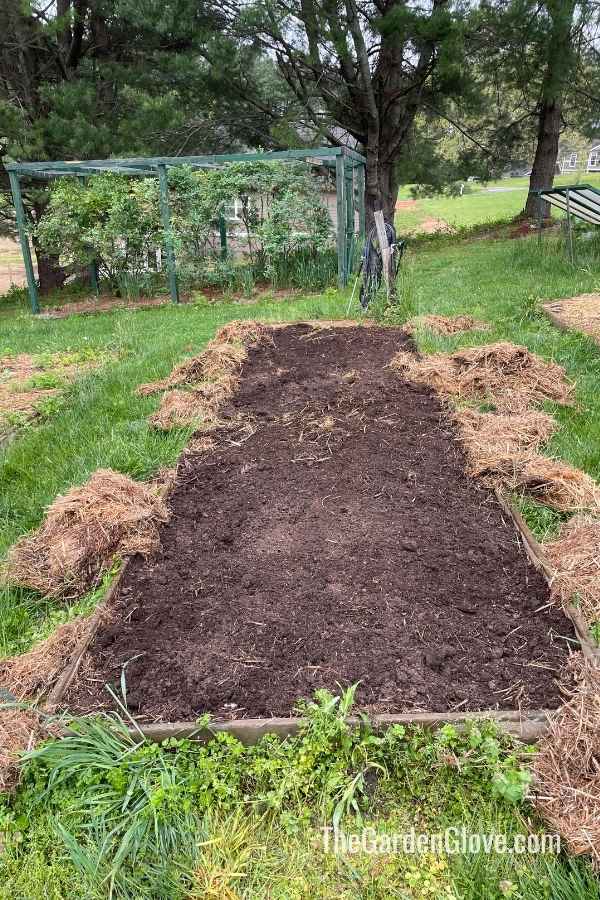
This year, I’m gardening in a new garden in a new house. So, I was working with new soil in raised beds I didn’t fill, and I had no idea what to expect. Just digging under the surface of the thick layer of straw mulch left behind showed me a lot about the soil. The amount of straw may have been just a bit too much. Underneath, the soil appeared heavy, compacted, and was holding on to a lot of moisture. It was easily moldable in my hand, too. This is typically a sign of clay or silty soils that are a bit heavy for home gardening.

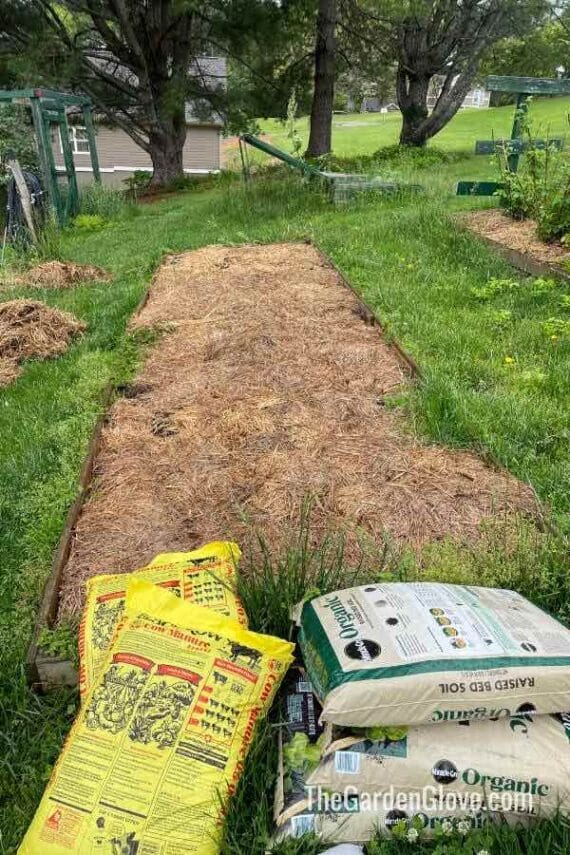
After clearing away the straw to access the soil, I topped off the beds with new raised garden soil. This will add some larger structure to the soil, hopefully improving drainage and aeration. I focused on adding organic material, opting for both manure and mushroom compost.

I put only some of the straw back on top of the soil, maintaining a lighter mulch layer than it had before. We get plenty of rain, so I’m more concerned with my soil staying too soggy than it drying out too quickly. If you live in a dry climate, thicker mulch may be a better option for you!
Ideally, the larger pieces of wood chips and organic material in the raised bed soil I used will create some better structure and aeration in my soil. They’ll slowly break down to add nutrients to my soil, while the mushroom compost and manure will provide more readily accessible nutrients for this season. I also add a bit of all purpose fertilizer when putting my transplants in the ground. This is was just a good, basic soil prep with minimal thought and effort this year. So, if you’re like me and procrastinated on spring garden prep, it could be a good option for you too!
A Happy Garden Starts With Soil Prep!
Preparing your soil and garden beds before planting is one of the best things you can do for a successful growing season. By clearing out debris, testing and amending your soil, improving its structure, and supporting beneficial microbes, you’re setting the stage for strong, healthy plants.
It’s best to do this while it’s still cold out, so why not consider it a fun way to get some gardening in and get head start on your spring garden? You’ll thank yourself later, when you’re enjoying your best-ever growing season! And hey, if it’s too late, give yourself a bit of grace and throw some fertilizer in the ground. Let’s not take ourselves too seriously! Looking for more garden inspiration? Check out our list of blooming perennials for shade, or drought tolerant perennials for a low-maintenance garden. And if low-maintenance sounds like your kind of garden, you should definitley look into permaculture gardening!
We reference Your garden beds briefly to keep the thread coherent.
Your garden beds comes up here to connect ideas for clarity.
This post may contain affiliate links. Please read our disclosure for more info.

